
Shark AV753 ION Robot Vacuum Setup: A Quick Guide!
The latest Shark AC753 robotic vacuum cleaners are packed with an auto-sense navigation system and various sensors. These sensors and advanced features help the robot to move freely on the floor. Apart from this, this robot is packed with several other extraordinary features that you need to perform the Shark AV753 ION Robot Vacuum Setup.
In this guide, we highlight the stepwise instructions to configure the basic and advanced settings on your vacuum cleaner. Therefore, walk through this guide for more insights!
Before You Begin with the Shark AV753 ION Robot Vacuum Setup
When you buy a brand new Shark AV753 ION Robot, you must perform its initial setup to make the most of it and customize it accordingly. Before initiating the Shark AV753 ION Vacuum Setup procedure, you should take care of these essential things:
- Initially, unbox the Shark AV753 ION Robot carefully.
- Then, make sure the box contains all the necessary parts.
- Now, place the charging dock on a flat surface against the wall.
- Ensure your charging dock is placed at least 4 ft on either side and 6 ft in front.
- Now, plug the charging dock into the wall outlet using the original power adapter.
- After that, place the Shark AV753 ION Robot on the dock.
- When you see the indicator on the vacuum, it starts charging.
- But if the LED doesn’t appear, turn off Shark robot vacuum and plug it in again.
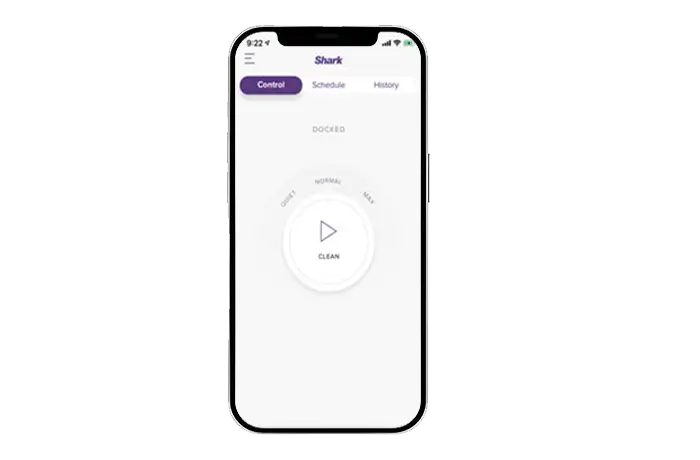
- Additionally, press the CLEAN button to start a cleaning cycle.
- Follow the app instructions carefully to complete the Shark AV753 ION Robot Vacuum Setup.
What Are the Best Ways to Perform the Shark AV753 ION Vacuum Setup?
However, you can easily configure the Shark AV753 ION vacuum cleaner using the SharkClean mobile app. For that, you must have the latest version of the SharClean app on your smartphone. Additionally, download this app on a compatible smartphone.
On the other hand, you can also set up your vacuum cleaner via the robot itself. However, the SharkClean app method is the most preferred way to configure your robot due to its user-friendly interface therefore, if you want to learn the complete instructions to set up the robot via the app, walk through the below sections.
Using the SharkClean App For Robot Setup
- Initially, power on your Shark vacuum cleaner.

- Now, connect your smartphone to the available network.
- Further, download the SharkClean app on your smartphone.
- After that, launch the app and create an account first.
- If you already have an account, then log in using existing details.
- Next, you reach the smart setup wizard of the Shark vacuum.
- From the home dashboard, tap on the ‘Add Device’ option.
- Now, select your robot model and add it to the app.
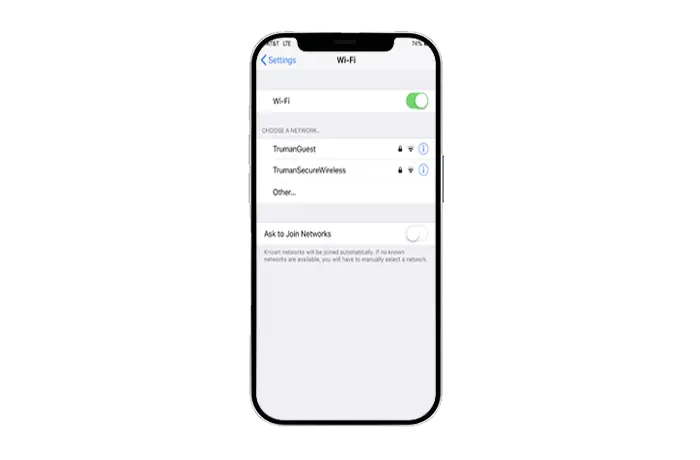
- Then, choose a 2.4 GHz wifi network to connect your robot to wifi.
- Now, go to the Menu and create the map to initiate the cleaning operation.
- Further, set a schedule from the menu to remotely manage and set the cleaning.
- Moreover, you can configure other settings and smart voice assistants like Alexa to optimize the cleaning experience.
- Finally, the Shark AV753 ION Robot Vacuum Setup is finished.
Final Thoughts
All in all, this blog post briefly describes the Shark AV753 ION Robot Vacuum Setup procedure through quick and easy instructions. This guide teaches you about the possible ways to configure your Shark robot effortlessly. Now, you have learned the detailed steps to customize the robot settings via the SharkClean app.