
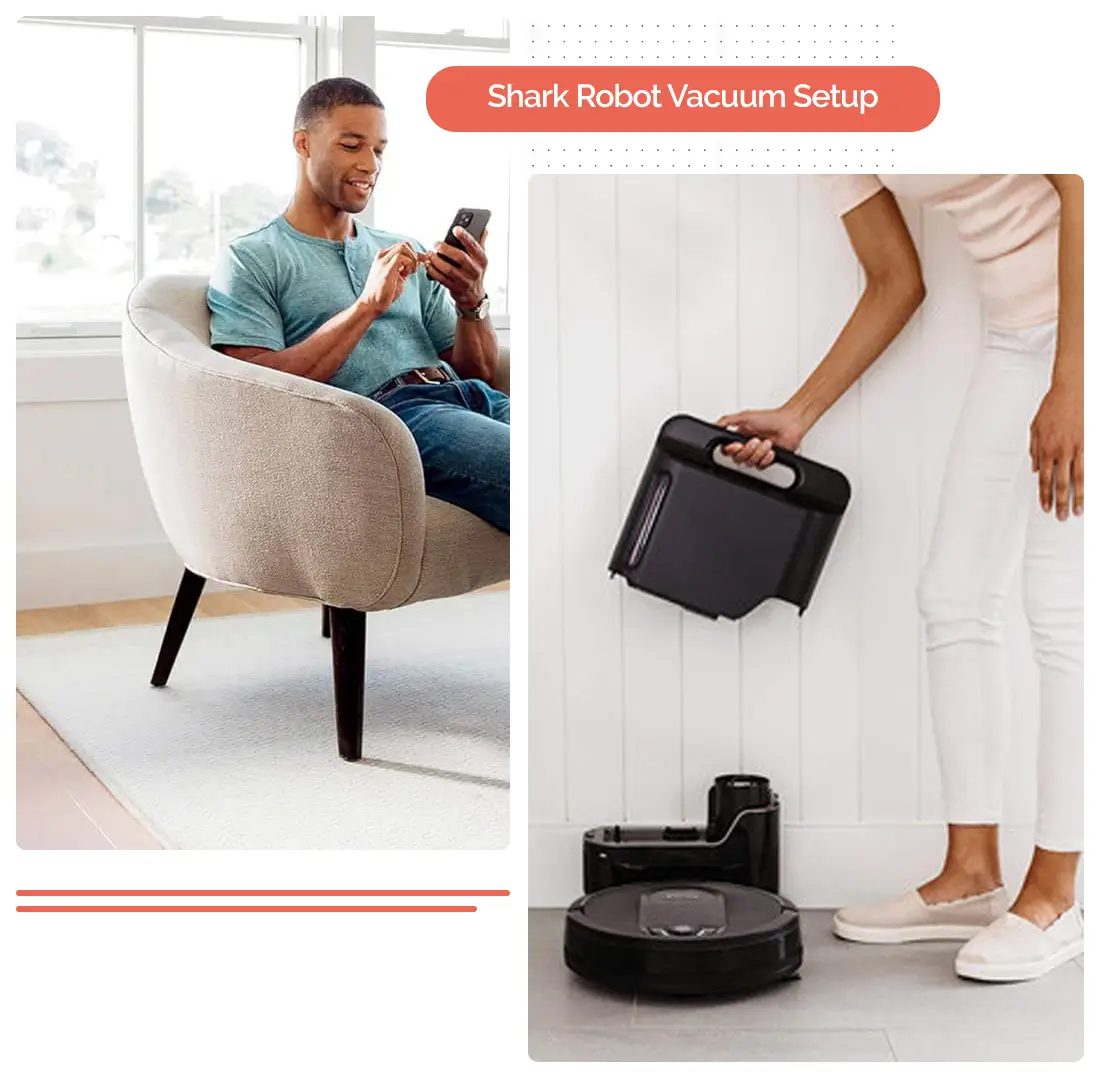
The Complete Guide for Shark Robot Vacuum Setup
The Shark Robot vacuum is a top-quality robot vacuum known for its time-saving skills. This vacuum is recognized for its incredible functioning and top-notch features. With the help of the features, you can enhance the vacuum’s performance. To make the most of this vacuum, you need to proceed with the Shark robot vacuum setup.
It’s necessary to proceed with Shark vacuum setup. The setup will ensure the optimal functioning of the Shark robot vacuum. To set up the vacuum, you need to install the Shark app on your smartphone. Through the app, you can set up the vacuum correctly and configure the settings properly.
If you want to know the process for the Shark robot vacuum WiFi setup, we’ve got you. You can learn the complete process for the setup with our help. We will explain the complete steps for the setup. We will also consider the issues you could face with the setup. Then, we will define the troubleshooting methods to troubleshoot the problem.
Requirements for the Shark Vacuum WiFi Setup
To set up the vacuum, there are some things you must have. There are various things you require for the setup. Some are as follows:
- The Shark app
- A Shark account
- An active WiFi connection
- The WiFi password
- Your smartphone.
These are some requirements for the setup you must have. Further, we will explain the Shark setup process.
Pre-Shark Vacuum Setup Instructions
Before you set up the vacuum, there are some things you need to do. To set up the vacuum, you need to charge the vacuum. If the vacuum doesn’t have a sufficient charge, you cannot set it up and connect it to the WiFi. The pre-setup instructions for the vacuum are as follows:

Find a Suitable Location
Before the setup, you need to find the most appropriate location for the charging base. The charging base shouldn’t have any object within 6 ft of the charging dock. If there are objects near the charging base, the vacuum will have trouble charging.
Plug In the Charging Base
Once you have chosen a location for the charging base, you need to plug the charging base into a stable power source. The charging base requires a sufficient power supply to work properly. Ensure to plug the base into a functional electrical outlet.
Place the Vacuum on the Base
Hereon, you need to place the vacuum on the charging dock. Ensure to charge the vacuum before you set up the vacuum. All you need to do is place the vacuum on the charging base and align it properly with the base. Ensure to turn on the vacuum and the base to start charging.
Before you set up the vacuum, there are some things you need to do. To set up the vacuum, you need to charge the vacuum. If the vacuum doesn’t have a sufficient charge, you cannot set it up and connect it to the WiFi. The pre-setup instructions for the vacuum are as follows:
Steps for the Shark Robot Vacuum Setup
Now that the vacuum is sufficiently charged, let’s proceed with the setup. To set up the Shark robot vacuum, you need to install the Shark app on your smartphone. Through the app, you can properly set up the vacuum and make the most of it. From the app, you can access the vacuum’s features. The procedure for the setup is as follows:
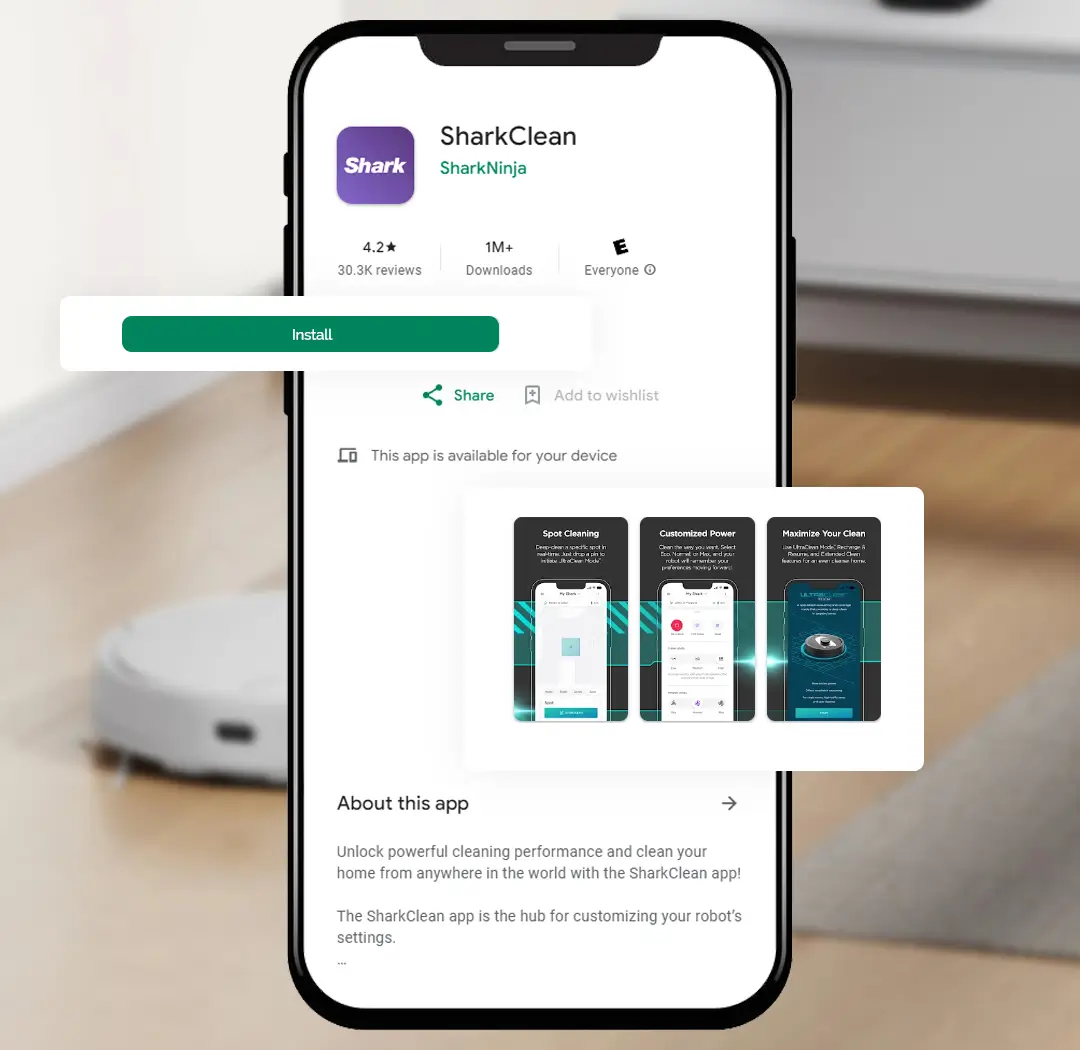
- To begin with, install the Shark app on your smartphone and log into the user interface.
- If you don’t have an account, you can create one from the app using the correct details.
- Once you are logged in, you need to tap Add Device and add the vacuum in the app.
- Ensure to add the correct model of the vacuum in the app to set it up correctly.
- Hereon, you need to connect your smartphone to the Shark Vacuum’s network.
- Once your device is connected to the vacuum’s network, you can connect it to WiFi.
- After that, you need to enter the WiFi network and enter the correct password.
- Give the vacuum some time to connect to the WiFi to start using the vacuum.
- Once the connection is secure, you can configure the vacuum’s settings correctly.
- At last, set up the settings, send the vacuum on a mapping run, and start using it.
These are the steps for the Shark robot vacuum WiFI setup. Once you are done with the setup, you can configure the settings of the vacuum properly. However, if you are having trouble setting up the vacuum, we will discuss the troubleshooting methods further.
How to Fix the Shark Setup Issues?
If you are having trouble setting up the vacuum and connecting it to the WiFi, you need to fix it. You must connect the vacuum to the WiFi to ensure optimal functioning. Without a WiFi connection, the vacuum will not work at all. The troubleshooting methods for the issues are as follows:

Charge the Vacuum
- The vacuum must have a sufficient charge to connect to the WiFi network.
- If the vacuum’s battery is low, the vacuum will not connect to the WiFi at all.
- So, to charge the vacuum, you need to send the vacuum to the charging dock.
- All you need to do is, press the Dock button on the vacuum and it will go to the dock.

Fix the App Issues
- There could be issues within the app causing the setup issues.
- Check if the app requires an update and update it accordingly.
- Also, you can try uninstalling the app for some time.
- After a few minutes, you can reinstall the app to fix it.
- Now, try re-setting up the robot vacuum correctly.


Use the Right WiFi Password
- You can also be using the wrong WiFi password while connecting to the WiFi.
- You cannot connect the vacuum to the WiFi using the incorrect WiFi password.
- Therefore, ensure to enter the correct WiFi password to connect to the WiFi.
- If you have recently changed the password, you need to reconnect with the new password.

Reset the Vacuum
- If the Shark robot vacuum setup issue persists, you need to reset the vacuum.
- The reset should fix all issues within the vacuum and you can set it up correctly.
- To reset the vacuum, you need to flip over the vacuum to locate the power button.
- Now, press the power button and hold it for 10 seconds.
- After 10 seconds, you need to wait 10-15 seconds more before you turn it on.
- You can also reset the vacuum through the Shark app as well.
These are the troubleshooting methods you can use to fix the Shark vacuum setup issues. Now, try again with connecting the vacuum to the WiFi. Once the vacuum is connected to the WiFi, you can start using it. We hope you understand the Shark vacuum setup along with troubleshooting methods. If you face any issues with the vacuum, we will be there to fix the issues within.
Frequently Asked Questions
Yes, you can use the Shark robot vacuum on different types of floors. The Shark robot vacuum will function properly on every floor type. Just beware on the mat or carpet surfaces, as the vacuum might have difficulty on it. So, you need to pick up the mat and then start the cleaning.
To log into the Shark robot vacuum’s user interface, you need the Shark app. Through the app, you can log in and set up the vacuum easily. Just install the app and log into your account. If you don’t have an account, you can create one from the app. After logging in, add the vacuum and set it up properly.
If the vacuum is not working properly, you need to fix it. When you have had the vacuum for a while now, you need to check it. You must inspect all the brushes, filters, and sensors of the vacuum. If any of these parts are dirty, the vacuum will face several issues.
To fix the vacuum not working issue, you need to clean all the brushes, filters, sensors, and wheels of the vacuum. Ensure to clean all the parts of the vacuum once every week. You can also try rebooting or resetting the vacuum to troubleshoot all glitches within the Shark vacuum.

For More Information Connect with Our Team Right Now!