
Shark IQ Robot Vacuum Setup: Revolutionize Your Cleaning Routine
Nowadays, Shark vacuums are one of the advanced cleaning devices. These are easy to use but for this, you need to perform a Shark IQ robot vacuum setup. Additionally, the Shark IQ series comes with a self-empty base and smart home connectivity. Likewise, you can access these smart cleaners from your phone or using voice commands.
In addition to this, to operate these robotic cleaners it is crucial to add your smart vacuum to the Shark Clean app first. After that, you can customize the vacuum settings according to your preferences. So, to get more elaborative information on the Shark robot vacuum wifi setup, keep reading this page!
Essentials for the Shark IQ vacuum setup
However, to start with the vacuum configuration, ensure to have a few things ready, such as:
- An active internet connection
- Updated Shark Clean app
- Valid admin details
- Fully charged Shark IQ vacuum
Quick steps for Shark IQ robot vacuum setup using the app
Additionally, you are now aware of the primary thing that you need to initiate the setup process for your Shark vacuum. Further, confirm that you have a compatible smartphone (Android/iOS) to access the updated version of the Shark Clean application. After that, follow the steps mentioned below to perform the Shark robot vacuum wifi setup:
- To begin with, connect your smartphone to the home network.
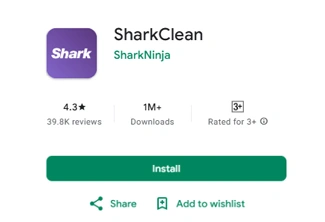
- Now, check that you use an updated version of the Shark Clean application.
- Next, run the app and access the admin account by entering the accurate user details.
- Afterward, you visit the home screen of the Shark vacuum.
- Here, select your IQ vacuum model and check that the Wi-Fi indicator is blinking on the vacuum.
- After that, visit the wifi settings of your mobile phone when prompted and select your home network.
- Hereon, type in the wifi password for the chosen network and wait until the connection establishes successfully.
- You see multiple options on the screen, such as Clean, Schedule, Map, etc.
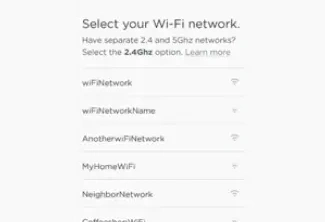
- Make sure the network you have selected is of 2.4 GHz frequency.
- After joining the network, you see a “Success” message on the screen.
Walk through the other features for a quick Shark IQ robot vacuum setup
- Further, click on the Explore Run option for the mapping of your home.
- If you find the map ok, then tap on “Yes Approve” otherwise click on “Re-Explore.”
- You can also explore the other features, like Scheduling, Pairing, Voice, etc., and perform the Shark IQ robot vacuum setup accordingly.
- Follow the on-screen instructions for each section to customize the vacuum according to your preferences.
- Finally, your smart robotic cleaner is ready to clean.
Note: When connecting the robotic cleaner with the Shark Clean app, then press the DOCK & CLEAN button together to initiate the wifi connection on your Android phone. But if you are an iOS user, then directly visit the wifi settings of your phone and follow the instructions.
Wrapping Up
In a nutshell, this brief guide provides deep insights into the Shark IQ robot vacuum setup. Here, you explore the necessities and detailed steps to configure your robotic cleaner through the Shark Clean application. After that, you can use your smart vacuum freely by using your phone or linking it to your smart home gadgets and using voice commands. Feel free to approach us if you have any queries!