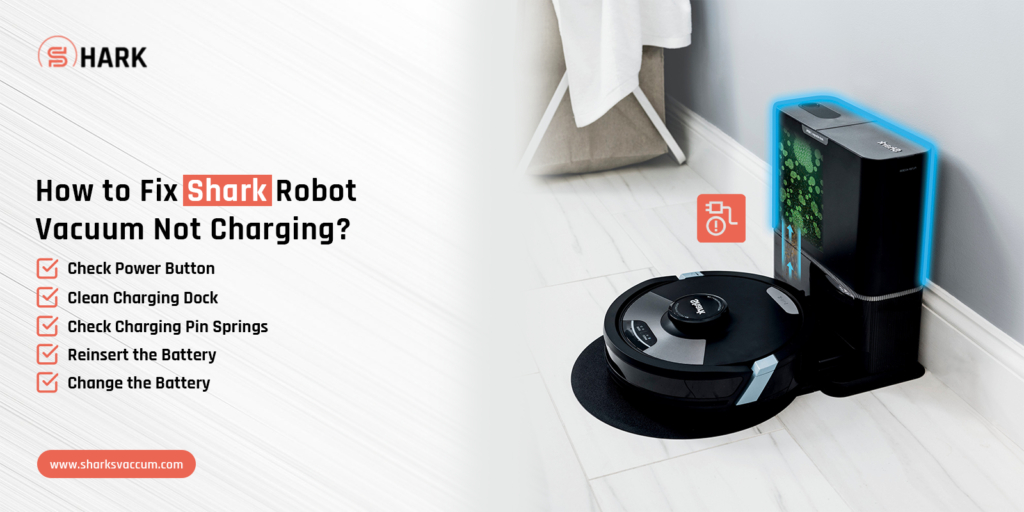
How to Fix Shark Robot Vacuum Not Charging?
Nowadays, there is a wide range of robot vacuums that work on batteries. And Shark Robot vacuum is one of them. If you have this vacuum, you’ll definitely be familiar with how convenient it is to keep your floors completely spotless effortlessly. But what if the Shark Robot vacuum not charging issue arises.
However, Shark robot vacuum allows you to move freely around your house and clean it properly, but when your vacuum stops charging, you should understand that there is something wrong with it.
Are you facing the Shark Robot vacuum battery not charging issue? Feeling frustrated and don’t know what to do next? Keep reading to find out the solution to it!
Why is My Shark Robot Vacuum Not Charging?
There can be various instances where your device fails to charge. Want to know what they are? Let’s have an overview of the factors responsible for Shark Robot vacuum not charging problem-
- Battery lost its ability to hold a charge
- It may possible that the battery is not inserted properly
- Dirty battery contacts of your camera
- Defective or damaged charging dock
- Charging dock is not properly plugged in
Troubleshooting the Shark Vacuum Robot Not Charging
Can’t you afford a little dirt in your premises? Or are you facing trouble with your Shark IQ Robot vacuum not charging? How frustrating it is! But rest assured! Below are a few simple steps that you can follow to troubleshoot & fix this issue.
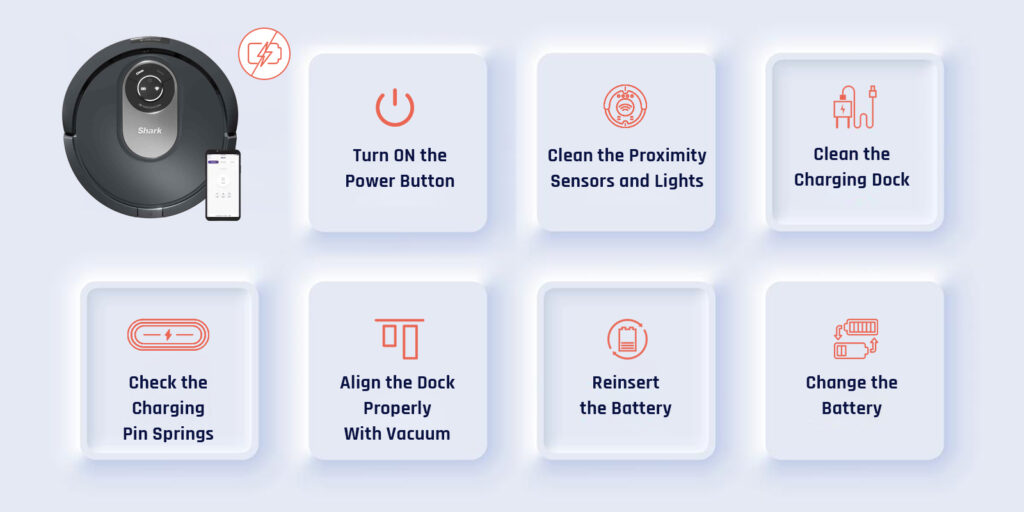
Turn ON the Power Button
Unlike other robotic vacuums, Shark Robot vacuums also have a power button. It is so because there is not any robotic vacuum that can charge if the power switch is off. So, move ahead & turn the power button on. This way, your vacuum will start charging again.
Align the Charging Dock Properly
Another factor responsible for Shark IQ Robot vacuum not charging is if your vacuum is not properly aligned with its charging dock. So, place your Shark Robot vacuum on its charger. For this, one important thing that you have to make sure is that the metal charging plates located on the bottom of your vacuum are properly aligned with the dock’s metal charging contacts or not.
Clean the Proximity Sensors and Lights
In this step, detect that your vacuum’s proximity sensors and lights are in clean condition. To verify these sensors is a must for you because they not only assist you to navigate around your home but also enable you to locate its charging dock. If they are dirty, your vacuum will not be able to find its way home.
When you notice a heavy buildup of dust & debris on the sensors, wipe them gently with the help of a dry microfiber cloth. In addition to this, if the sensors still seem grimy to you, you can also clean them with alcohol wipes & a Can full of compressed air. This way, you can easily remove the dust buildup from all hard-to-reach areas.
Check Charging Pin Springs
Usually, there are two pins made of metal on your robot vacuum’s charging dock. These pins are spring-activated and connected with the charging contacts. But, with the passage of time, these springs can break or loose. To spring the charging pin back up, press each metal pin on your vacuum charging dock with your finger.
Clean the Charging Dock
Sometimes, it happens that the dust gathers in the sensor window around your vacuum’s charging dock and blocks it. It unables your charging dock to pick up dirt. To wipe off the sensor window, all you have to do is- take a microfiber cloth or alcohol wipes. If you really do not want to face the Shark Robot vacuum not charging issue, pick up all of the stubborn grimes effectively.
Reinsert the Battery
Before making up your mind to replace the battery, you must make sure that the battery is inserted securely in your vacuum or not. To reinsert the battery, access your vacuum’s battery compartment, flip it over, and then unscrew its battery cover. Now, pull the battery out & reinsert it correctly.
Change the Battery
Generally, a lithium-ion battery is used for Shark Robot vacuum. If the battery gets old or damaged, it needs to be changed soon. Plus, make sure that you have disposed of the battery before going to buy a replacement battery for your robot vacuum.
How Can I Prevent Shark Robot Vacuum Charging Issues?
Is your Shark Robot vacuum battery not charging? Don’t want to deal with this issue? If so, below are some tips that can enable you to prevent the problem and also to maintain the charging capabilities of your Shark robot vacuum.
- Ensure to use the vacuum as per the given directions in the manual
- Don’t overload the dustbin
- Try to avoid vacuuming up big objects & liquids
- Remember to charge your vacuum after every use
- Clean the vacuum regularly with soft cloth or brush
- Make sure to place the charging dock in open area
- Keep away your vacuum far away from the walls or other physical objects
- Cross-check if the charging contacts are clean and free of debris or not
On the whole
Last but not least, after delving into this blog post, you will certainly come to know about the factors behind Shark Robot vacuum not charging. So, it will become more convenient for you to come across a few simple troubleshooting tips that can help you to resolve the problem more easily & quickly as well. To be precise, once you follow the suggestions given in this post, you can not only get your Shark Robot vacuum back up & running but also tackle all of your cleaning requirements.
FAQs
Can I Replace the Shark Robot Vacuum Battery Myself?
Yes, it is possible to replace the battery of your Shark Robot vacuum yourself.
Why is My Shark Robot Battery Draining Fast?
There are several reasons responsible for your Shark Robot battery draining fast. These potential reasons are- excessive usage, a defective battery, and issues with charging or power management.
How Long the Shark Robot Vacuum Battery Last?
Honestly speaking the lifespan of your Shark Robot vacuum’s battery lasts nearly 60-90 minutes per charge. But, it may vary according to your usage as well as the model of your vacuum.